Welcome
The posts are presented in reverse chronological order (newest first). Or you can click on one of the "Labels" to see all of the posts concerning a specific topic. Click on any photo for a larger image.
All my building experience is limited to Van's RV's so I have no experience with building tube and fabric or "plans building". I have much to learn so take everything I write with a grain of salt and reasonable skepticisim.
I do not intend to follow a "traditional" path for the construction of #88. I intend to employ low level technology and $ to reduce the construction time and difficulty where possible and practical. By low level technology I am referring to CAD, laser, waterjet, CNC. For example:
- I have purchased a complete wing spar kit from Jerry Kerr.
- A rib kit from Mr. Bartoe.
- Brunton Flying Wires and Drag wires from Harvey Swack.
- CNC profiled tube kits for the fuselage, tail feathers and landing gear from VR3.
In addition I have converted all of the wing fittings, brackets, links, lugs etc. to CAD and had them cut by water jet. I have designed a laser cut wing spar drill template/jig which positions the five spar components so that all of the holes can be drilled in a complete spar as an assembly. I plan to continue converting as many parts as I can to CAD so that I can reduce the "hand-made" components to a minimum.
Note: As of June 2015 I have over 100 CAD files which provide 600+ water jet cut parts for the Skyote.
While it takes a little time, converting the design to CAD is a great way to truly understand the drawings. plus a huge amount of information has been extracted from the rather complex drawings. This can be a great help to others in understanding and interpreting the design.
The Skyote is uniquely suited for conversion to CAD in that a "computer" was used in it's original design. I have read that Mr. Bartoe used a HP calculator to "compute" the design and dimensions of the Skyote. The plans show all of the critical dimensions to three decimal places for X,Y and Z axes.
Amazingly, when I put the design into CAD the resulting 3D models agree with Mr. Bartoe's thee decimal place dimensions about 99.9% of the time. I have found one discrepancy but less than 0.030"!
If you want to build your Skyote as cheaply as possible, or if you enjoy handcrafting the same parts over and over again then my approach to building is not for you!
If you want to build your Skyote in the minimum possible time with highly accurate parts then this approach may be the answer. I personally get a lot of satisfaction out of organizing the project so that it can be produced accurately. Hopefully some of this work will prove useful to others in the future.
Monday, February 16, 2015
Saturday, January 24, 2015
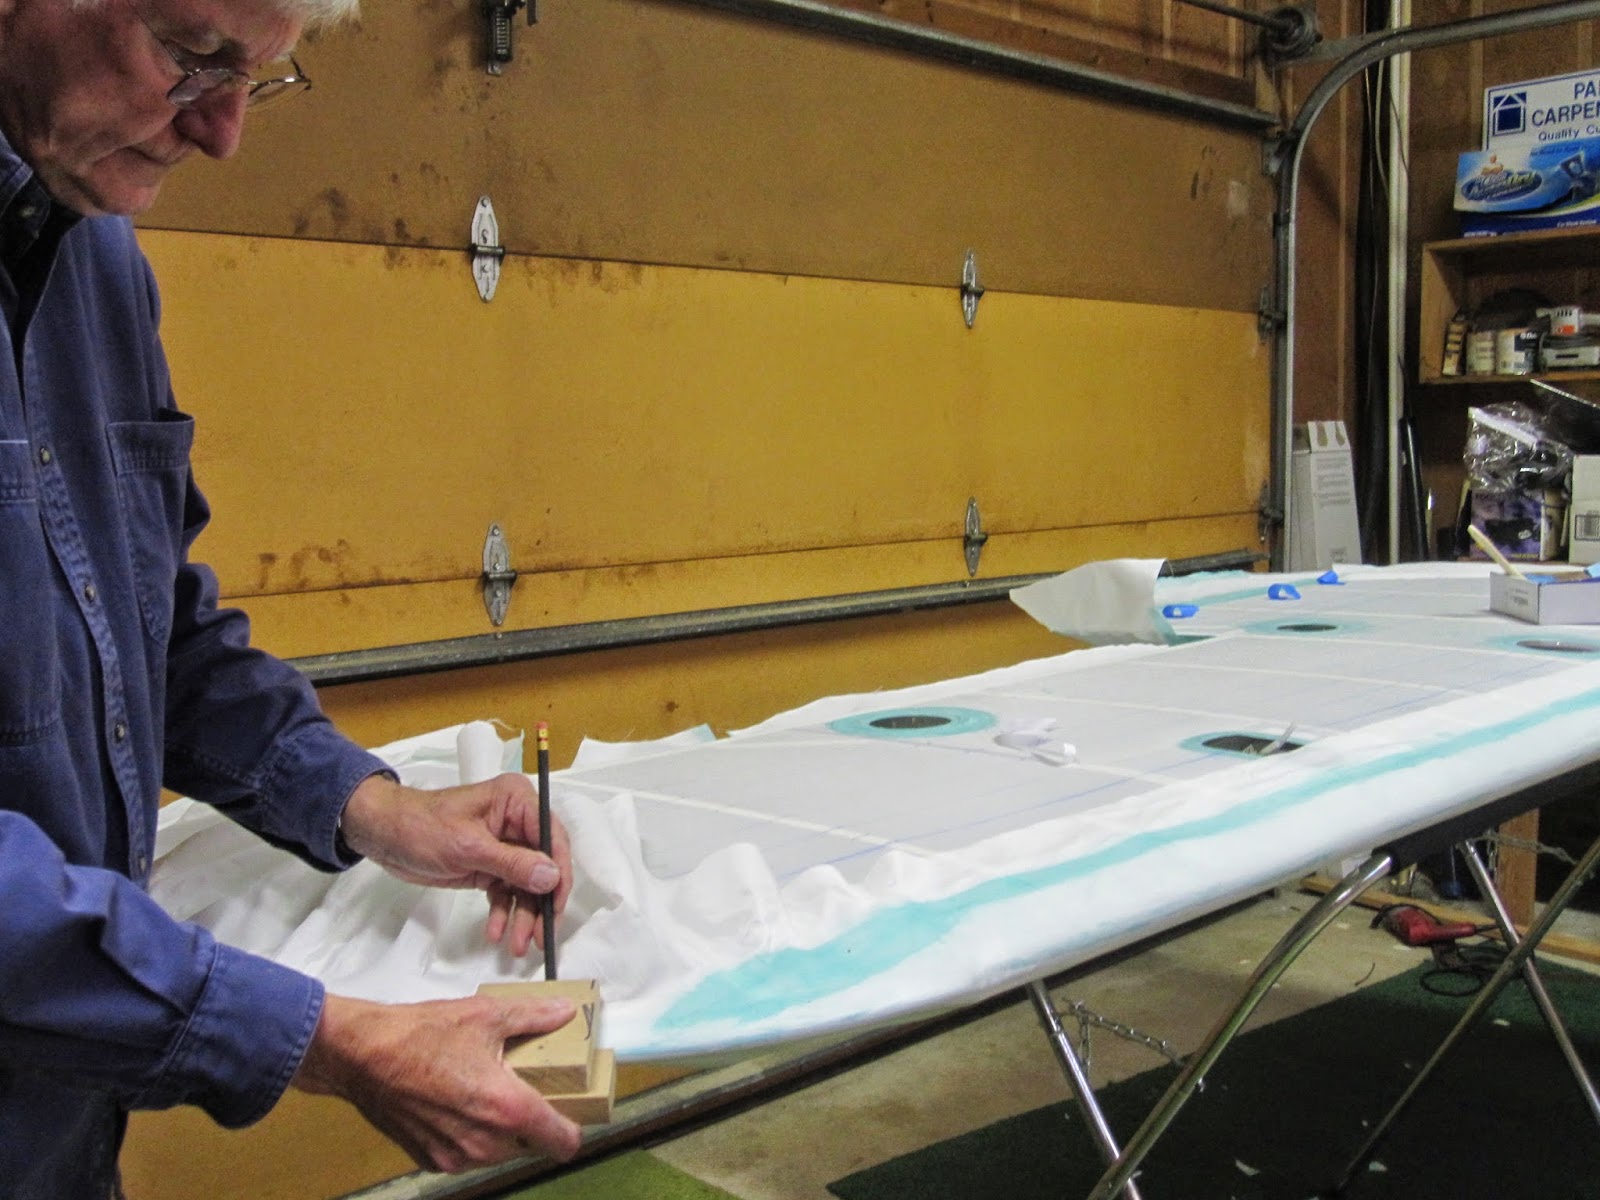
Fabric Covering the Wings
Thursday, January 22, 2015
Covering the Fuselage
We covered the bottom first in the inverted position. All of the final details for the control system were checked and double checked prior to closing up the bottom side.
Anti-chafe tape was used on the bottom stringers due to the extrapounding from the exhaust pulses and prop blast.
I didn't get many good shots of the bottom after covering but inspection covers were added below the elevator bell crank. Finishing tapes were added to all of the belly stringers. (not shown here)
Now for the turtle deck.
This is the first ply of turtle deck fabric installed.
The right side fabric came next. First drape of fabric shown here.
Now for the left side
Chief QA officer on the job!
All of the fuse fabric is now installed waiting for finishing tapes. Starting to look like an airplane!
The stool is supporting about 1lb. in this photo. Yikes! Glad the door is down, otherwise a breeze might tip it on its nose.
Wednesday, October 24, 2012
Split Boot Cowl for Better Access
To ease installation and removal, I sheared the panels into two pieces and rejoined the halves with piano hinge.
When the retaining fasteners are removed from the side panel the hinge pin can be pulled allowing removal and installation of the panel in two easy pieces.
The hinge joiner was flush riveted and will be virtually invisible.
Access here will be important as the avionics will be located behind these panels.
Thursday, September 13, 2012
Center Section Sheet Metal
I decided to replace the original sheet metal tank cover with a new one which would extend back and tie into the handle.
The original plan also included access doors for each of the spar to fuselage fittings plus gap fairings to cover the space between the root rib and the center section. I decided to streamline things by using one-piece fairings to serve as access port covers as well as root gap fairings. There is a very small weight gain (again!!) but not much as the doors and the gap covers are eliminated. I still need to cut out the sheet metal in the center or open area of the handle.
Wood filler blocks were fitted and attached to the root ribs and blended to the contour of the center section around the leading edge and extending under the bottom of the wing. This will leave a very small gap at the nose of the root rib which can be covered with color matched tape. The GlaStar wing root is done this way as well as many gliders.
Here's the cut out for the grab handle in the center section.
Total Pageviews
Printfriendly
Skyote Links
Labels
- 4 into 1 Exhaust
- Ailerons
- Air to Air Photos
- Air Worthiness Certificate.
- Airventure 2016
- Assembly
- Avionics
- Awards.Trips
- Battery
- Bell Cranks
- Boot Cowl
- Brake Pedals
- Brakes
- Bronze Lindy
- Bushings
- CAD
- Center Section
- Console
- Covering
- Cowling
- Design Modifications
- Design/Construction Ideas
- Elevator
- Engine
- Engine Cowl
- Engine Mount
- Exhaust
- FAA
- Fabric
- Failures
- Fairings
- Final Assembly
- Firewall Forward
- Fitting Bender
- Fittings
- Flight Controls
- Flight Test
- Floorboard
- fly-ins
- Fuel Gauges
- Fuel System
- Fuselage
- Good Times
- Head Rest Completed
- Inspection
- Instruments
- Introduction
- Jabiru
- Landing gear
- Maiden Flight
- Matched Hole
- Materials
- Milestones
- Nose Bowl
- O-200
- Oil Cooler
- Oshkosh
- Oshkosh 2016
- Paint
- Painting
- Panel
- Pitot Tube
- Problems
- Progress
- Quadrant
- Radius Bender
- Repairs
- Resources
- Rigging
- Rotec TBI-40
- Rudder Pedals
- Safety Harness
- Seat
- Sheet Metal
- Shocks
- Shows
- Skyote Gatherings
- Spacers
- Spars
- Struts
- Tail Feathers
- Tail Wheel
- The Drawings
- Tools
- Trim Tab
- Trim Tidbits
- Trips
- Tube Mitering
- Turtle Deck
- Video
- VR3
- Water Jet
- Weight and Balance
- Welding
- Windshield
- Wings
- Wiring
- Wood Work
Disclaimer
I am not suggesting that anyone should try the modifications that are discussed here. Everyone has different priorities. The changes that I am considering just fit my priorities a little better.
Everything I post here is nothing more than my opinion and is subject to change if and when I learn that I am wrong. This is likely to happen often.
Comments, both + and- are welcomed. I will try to acknowledge comments as time allows