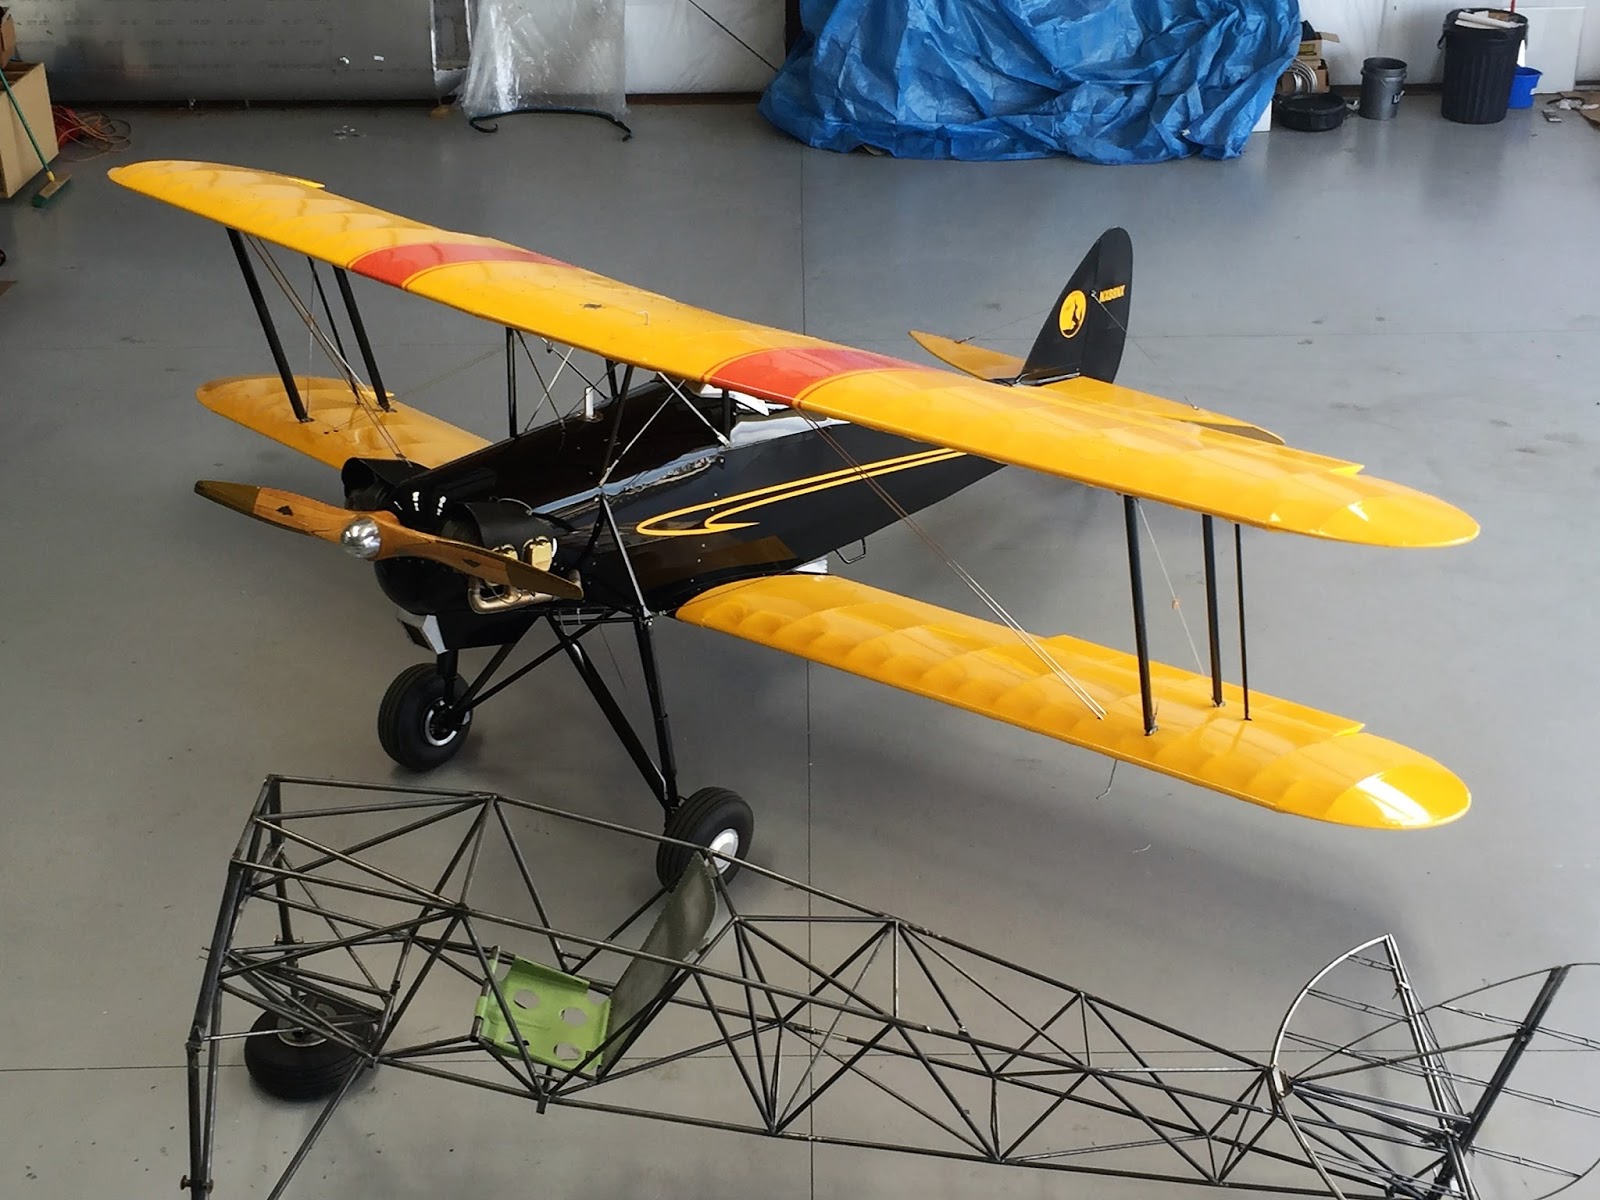
Welcome
The posts are presented in reverse chronological order (newest first). Or you can click on one of the "Labels" to see all of the posts concerning a specific topic. Click on any photo for a larger image.
All my building experience is limited to Van's RV's so I have no experience with building tube and fabric or "plans building". I have much to learn so take everything I write with a grain of salt and reasonable skepticisim.
I do not intend to follow a "traditional" path for the construction of #88. I intend to employ low level technology and $ to reduce the construction time and difficulty where possible and practical. By low level technology I am referring to CAD, laser, waterjet, CNC. For example:
- I have purchased a complete wing spar kit from Jerry Kerr.
- A rib kit from Mr. Bartoe.
- Brunton Flying Wires and Drag wires from Harvey Swack.
- CNC profiled tube kits for the fuselage, tail feathers and landing gear from VR3.
In addition I have converted all of the wing fittings, brackets, links, lugs etc. to CAD and had them cut by water jet. I have designed a laser cut wing spar drill template/jig which positions the five spar components so that all of the holes can be drilled in a complete spar as an assembly. I plan to continue converting as many parts as I can to CAD so that I can reduce the "hand-made" components to a minimum.
Note: As of June 2015 I have over 100 CAD files which provide 600+ water jet cut parts for the Skyote.
While it takes a little time, converting the design to CAD is a great way to truly understand the drawings. plus a huge amount of information has been extracted from the rather complex drawings. This can be a great help to others in understanding and interpreting the design.
The Skyote is uniquely suited for conversion to CAD in that a "computer" was used in it's original design. I have read that Mr. Bartoe used a HP calculator to "compute" the design and dimensions of the Skyote. The plans show all of the critical dimensions to three decimal places for X,Y and Z axes.
Amazingly, when I put the design into CAD the resulting 3D models agree with Mr. Bartoe's thee decimal place dimensions about 99.9% of the time. I have found one discrepancy but less than 0.030"!
If you want to build your Skyote as cheaply as possible, or if you enjoy handcrafting the same parts over and over again then my approach to building is not for you!
If you want to build your Skyote in the minimum possible time with highly accurate parts then this approach may be the answer. I personally get a lot of satisfaction out of organizing the project so that it can be produced accurately. Hopefully some of this work will prove useful to others in the future.
Sunday, June 26, 2016
SC Aviation Association Gives Skyote #88 "Peoples Choice" Award.
Wednesday, June 15, 2016
First Fly-In for Skyote#88
This past Saturday Skyote #88 went to the Fabric and Tail Wheel event held at the fantastic Triple Tree Aerodrome. Between 75 and 100 beautiful fabric and/or tail dragger airplanes showed up on a nice but hot day.
Triple Tree Aerodrome is a unique "Country Club for Airplanes". It features a 7000' x 400' wide grass strip that looks like a golf course. You can learn all about it @ www.tripletreeaerodrome.com .
All in all it was a very nice day. Skyote #88 was well received.
There were some very nice airplanes there:
Friday, June 10, 2016
Don't Be Shocked
Luckily the failure occurred at my home base and the "Skyote Pit Crew" replaced them them with my design urethane compression style shocks.
Skyote #88 Is Out of Jail
Monday, May 30, 2016
Skyote Component Photo Opportunity
This past weekend we put together a practice photo shoot in preparation for Airventure/Oshkosh 2016. Dale Doane visited with a partially completed Skyote air frame (about 50% complete) and Johnathon came by with a full set of Skyote spar/aileron components. The idea is to show all of the components available to the Skyote plans builder.in one photo.
This is just my amateur shot. The professional photographer was able to get get everything straight on in one shot. Look close and you will see the aileron spar and nose skin components behind the wings. That's Dale Doane adjusting the seat in the fuse and Johnathon Pritchard in the jeans with Les Kanna in the background.
Pritchard, Doane and VR3 will all have Skyote components for plans builders on display in their booths in Hangar D.
Friday, May 27, 2016
Skyote #88 Gets Her Groove Back!
Monday, May 23, 2016
Skyote #88 Gets It's Engine Back Tomorrow
Monday, May 2, 2016
Skyote #88 Down for Repair
Tuesday, March 15, 2016
Skyote #88 Flies
It got off quick, flew straight and landed nicely! A Good Day".
The following is a so-so YouTube video of the first departure and return to the hangar. More later.
First flight video HERE
Friday, March 11, 2016
The Big Day!!
It's an Airplane!
I was hoping my shirt would not be a bad omen!
Thursday, January 14, 2016
Still waiting on the FAA!
Saturday, December 5, 2015
Ready for the FAA
Final Details
Thursday, October 15, 2015
First Engine Run
Saturday, October 10, 2015
One Step Closer
We fitted the engine cowl and the boot cowl today. It took just a little trimming here and there as this was the first time everything had been on the airplane at once so we found a few small spots of interference.
Only two significant items left to do. Recover the ailerons and make and install the wing root fairings.
Monday, October 5, 2015
Rigging
Friday, October 2, 2015
All Wired Up!
Wednesday, September 23, 2015
Almost an Airplane
Tuesday, September 22, 2015
Matched Hole Spar First Look!
The "Matched Hole" Spar kit is an out-of-the-park home run! The spar cap to spar web fit is perfect and the pre-bent spar mounted fittings do the same. With the exception of trimming the spar caps for the tapered tip these photos could have been made 5 minutes from the time the spar components came off the water jet table. The extrusioned spar caps make a much nicer spar compared to the formed spar caps. Wish I had them on #88!
This is a "shorty" demo spar made for ease of transport and show and tell. All of the critical features are retained from the full 9'-6" spar. Just the long sections with nothing but rivets have been eliminated. I created all of the CAD models for these components anand built this exact assembly in virtual space so I had a good idea of what the real thing would look like. Even so I wasn't prepared for how simple and elegant it is when actually in hand
The tapered tip uses features cut into the spar web as a template for trimming the legs of the spar. No measuring or layout of any kind is required. It is "automatic". I will post more detail on this soon.
Saturday, September 19, 2015
Fourth Wing Painted and Top Wings Striped The end is in Sight!
Well, the fourth wing is finally painted and both top wings have "Cruiser Orange" stripes.
A little vision hiccup kept me out of the paint booth for about three months but all is well now.The stripes turned out nicely. We pulled the tapes at just the right time so the edges healed over nice and smooth.
The lower wings are hung , just waiting on the upper wing stripes to cure. Actually due to schedule conflicts, we likely won't hang the upper wings before late next week. No matter, there are plenty of details to look after. My hangar buddy and friend Tom Dubes (that's his RV4 in Team AeroDynamics livery in the background) has been a tremendous help keeping the fires burning while I was down for maintenance.
Much has been accomplished since my last report Mostly by Tom with me helping a little.
- The elevator and rudder controls rigged
- Brakes topped up and pressure tested
- Fuel tanks flushed and leak tested.
- All avionics wiring completed and tested.
- Engine breather piping installed.
- Fuel tanks flow tested (again).
- Prop mounted.
- Primer pump installed.
- Belite fuel gauge for fuselage tank installed and wired. This uses the new pressure transducer which makes for a very easy installation.